Using Quorum on Apple iOS Devices
The Quorum programming language also allows programs to be created within Quorum Studio and to be deployed onto iOS devices. This feature is largely experimental, but shows proof of concept and allows for many basic functions to work on the device. In this tutorial, we demonstrate how to put programs on an iPhone. The procedures are similar for other iOS devices. Note that this only works on Apple hardware at this time, as is typical for iOS programming. Note that to put Quorum programs onto a real device you will need to follow the steps on making signing certificates but the certificates are not necessary if you will only be running the program through an iOS simulator.
Prerequisites
Before putting Quorum programs onto iOS devices, there are a few things needed in addition to the regular tools for Quorum:
Writing the Quorum Program
Once everything is ready, the first step is to write the Quorum program. The program needs to use the Game class to work properly on iOS devices. For this tutorial, we will make a new Quorum project using the "Game Application" template, however, you could use any existing Quorum game project. You can find complete steps to making a new Quorum project in the Getting Started with Quorum tutorial.
Running Quorum on an iOS device
To run Quorum on a physical device, there are several steps we need to go through. First, we need to install XCode, Apple's development environment. The reason we need to do this is because Apple requires special certificates to run a program on our physical devices. These have to be setup before running our program or the program will fail after a lengthy compile on the Quorum side.
Using Xcode to Set Up a Development Profile
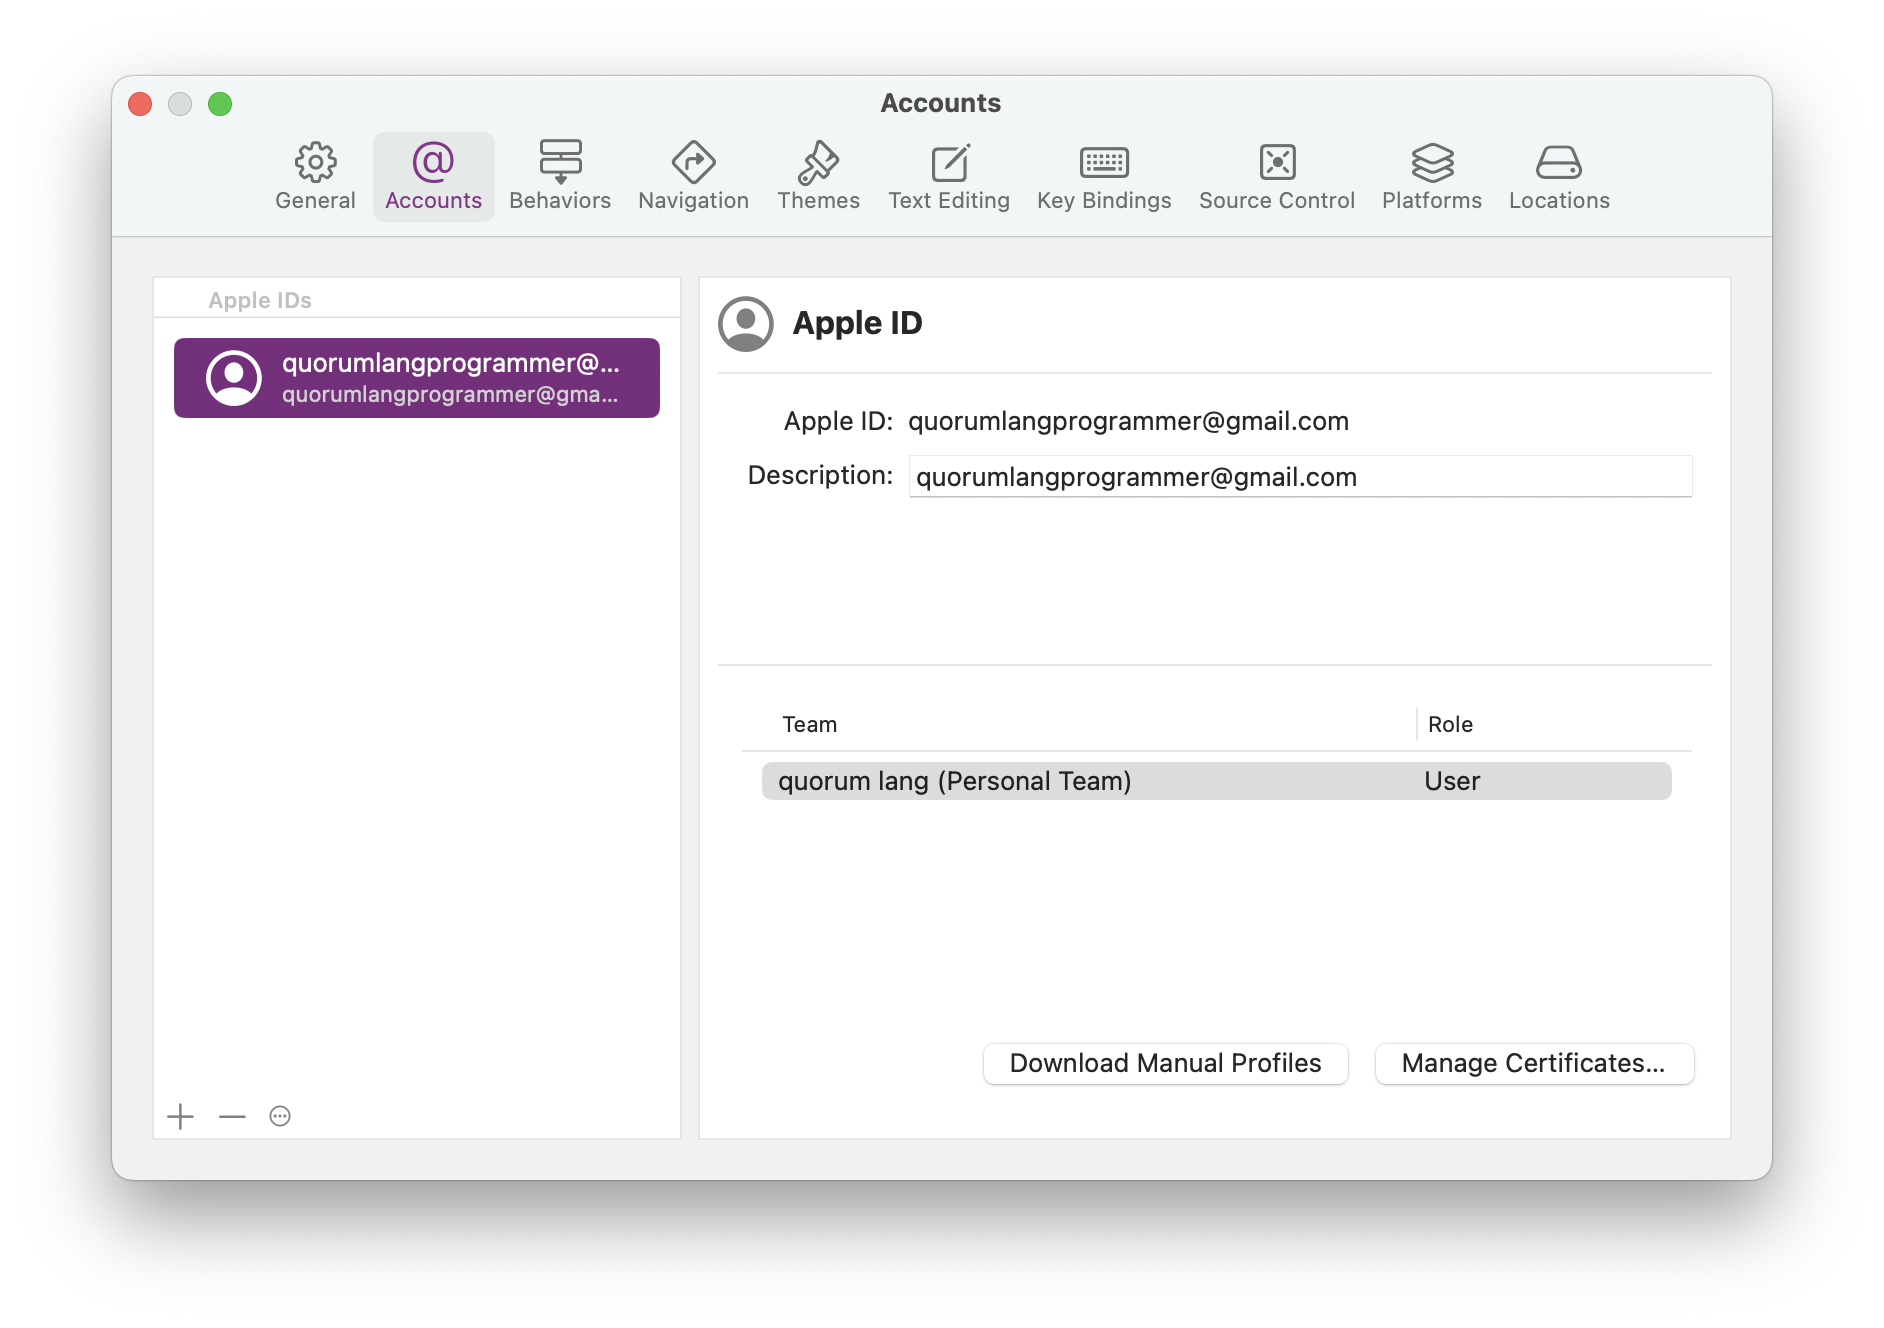
This tutorial will use a free development profile, using an Apple ID. Note that you won’t be able to distribute the app remotely or submit it to the App Store with this free profile; you will need to get a paid developer’s license from Apple for that. To set up your free profile, open Xcode. Under the Xcode navigation menu, go to Preferences. Choose the Accounts tab in the Preferences window. In the bottom-left corner there is a button marked with a plus symbol. Click the button and select "Add Apple ID". The window that appears will ask you to login with your Apple ID. Enter your account information and then select "Sign In". If you don’t have an Apple ID, you can select "Create Apple ID" to set one up, or you can create one for free at appleid.apple.com. Once signed in, the account tab should look like this:
If your Apple ID is not already selected in the column on the left, select it now. Then use the "Manage Certificates" button in the bottom right corner of the window. This will open a new window that will allow you to create a signing identity to use for your developer profile.
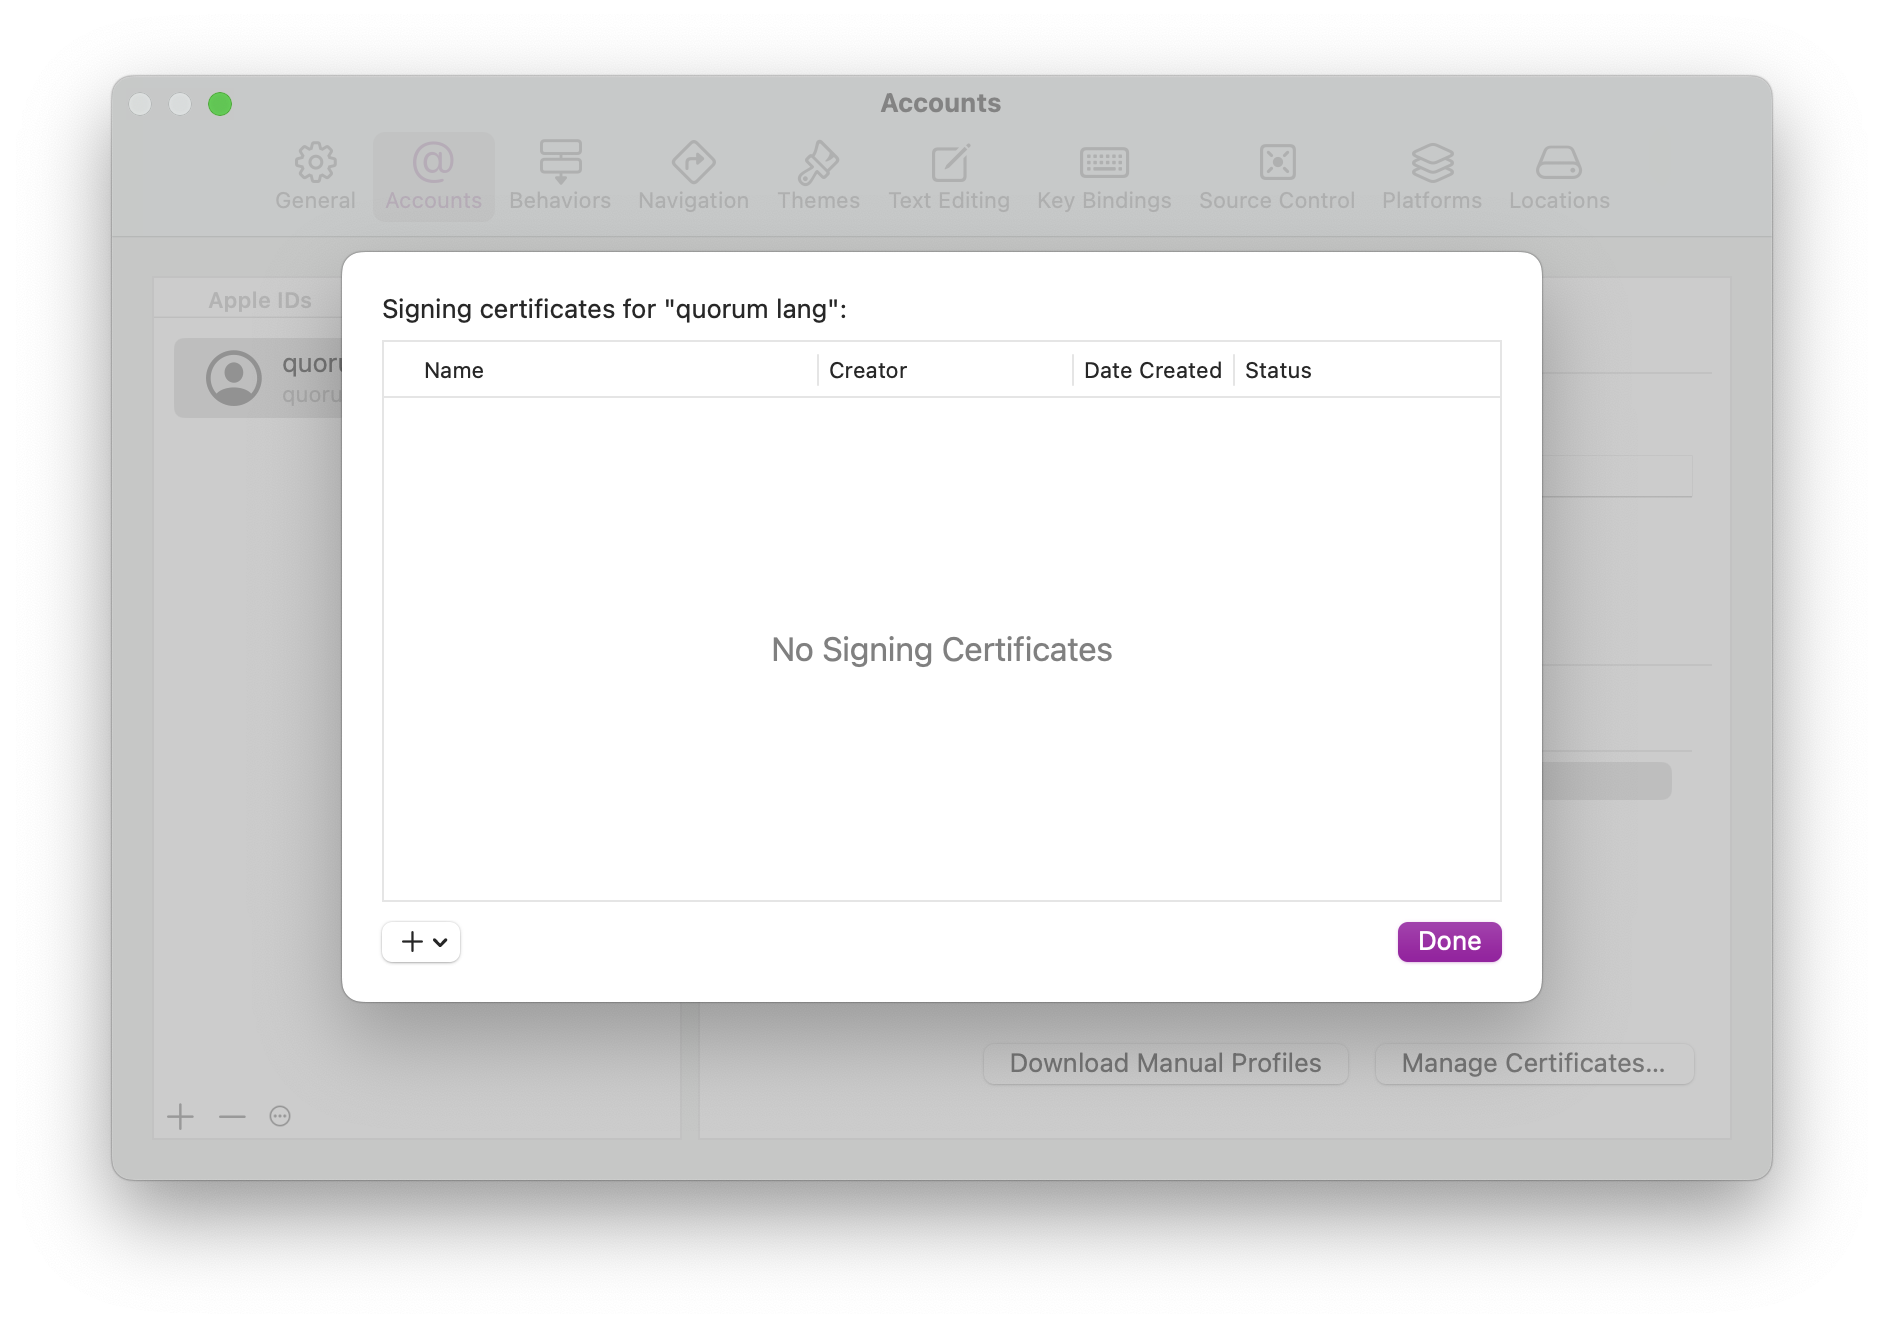
In the bottom left hand corner, select the "plus (+)" button. A dropdown that says "Apple Development" should show. Click it to create your profile signing certificates. If successful, you will see the name of your device under "Apple Development Certificates." Choose "Done" to return to the preferences page.

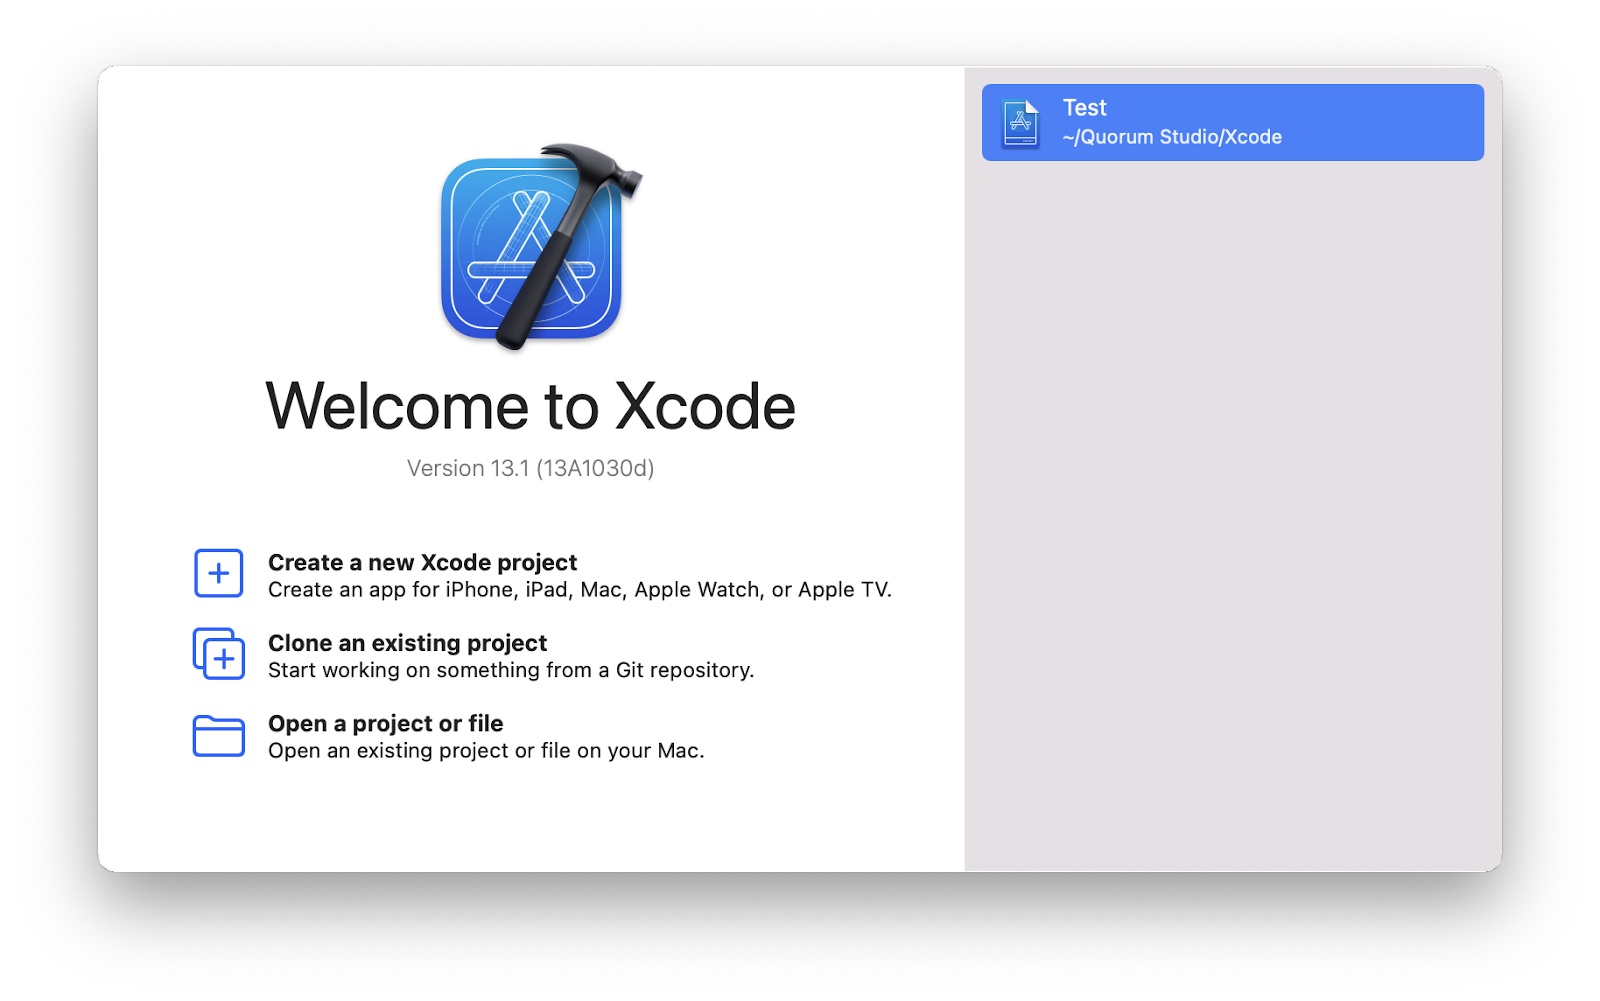
Although the account is now set up in Xcode, we still need to create a provisioning profile for the program. A provisioning profile is an identifier that is made for a single iOS program. It’s used to show who developed it, and that it hasn’t been changed. To create a provisioning profile, we’ll need to use Xcode to make a dummy iOS project. Although this won’t be used as part of the final program, making a project in Xcode will let us create the provisioning profile, as well as test to make sure we can connect to the iOS device. In Xcode, navigate to File > New > Project (or use the hotkey SHIFT-COMMAND-N).
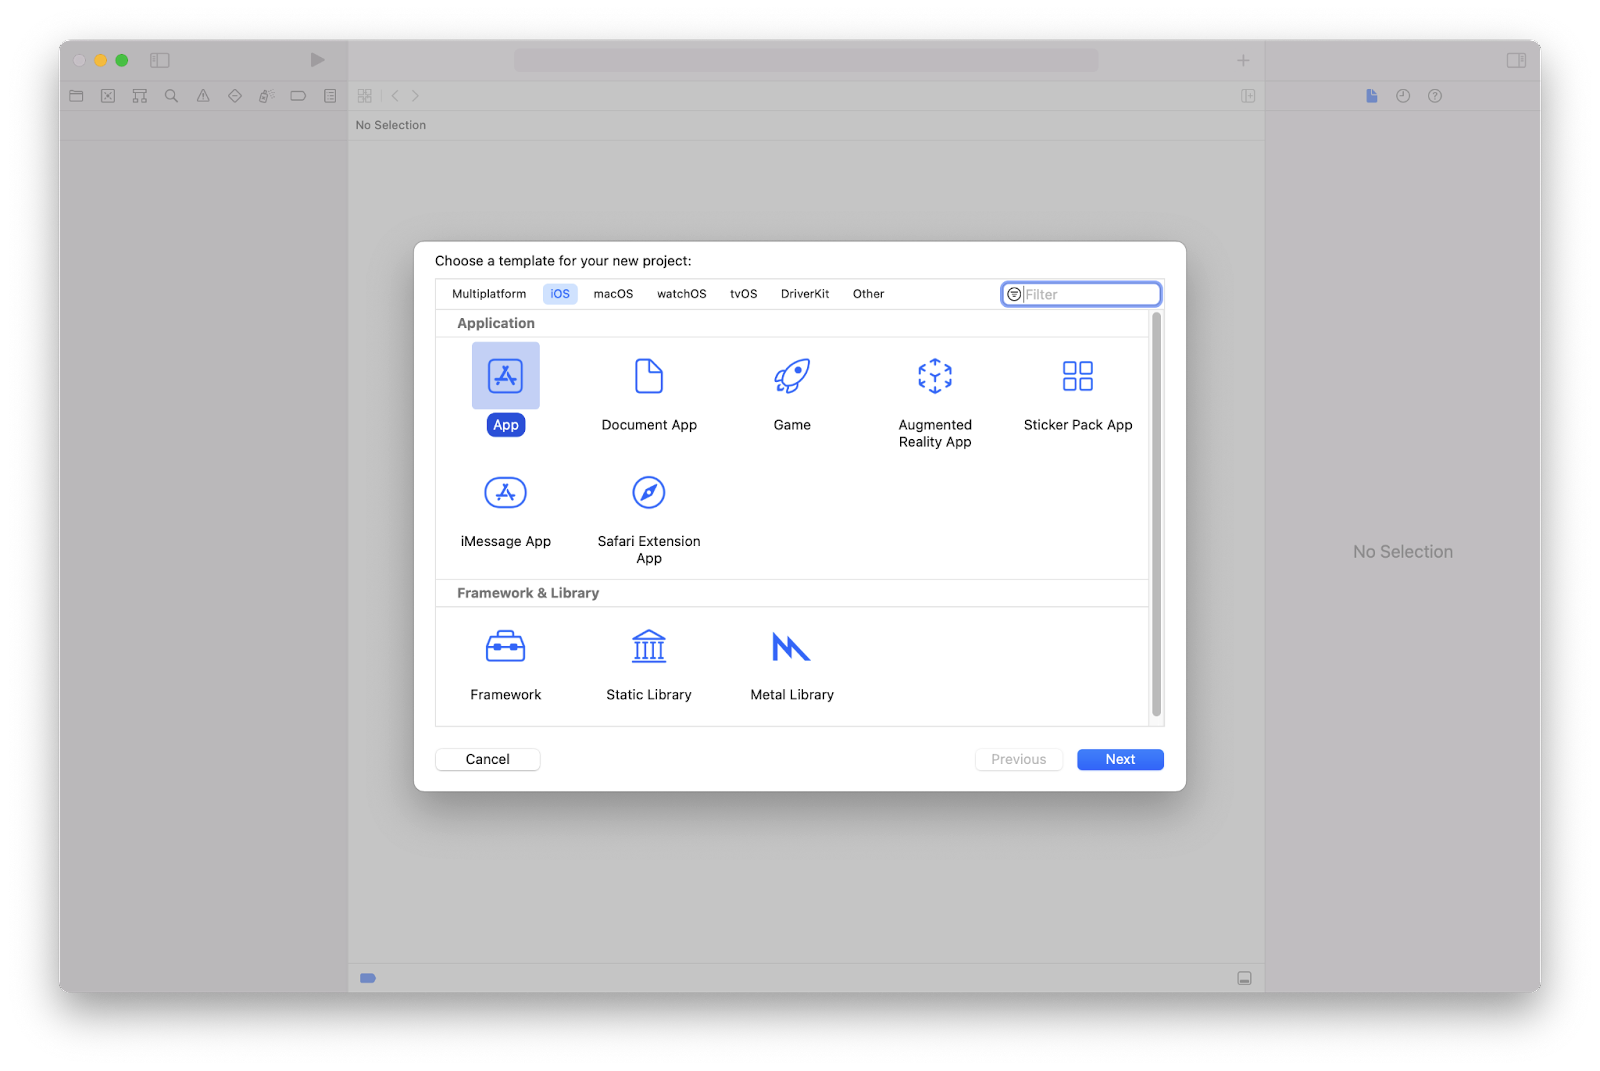
Next you need to choose a template to create an iOS app project. This will be a dummy project so no specific template is needed so the "App" template will suffice.
Give your project a name and an organization identifier. This will need to match the identifier for your app in Quorum Studio. In this case, we used org.quorumlanguage.
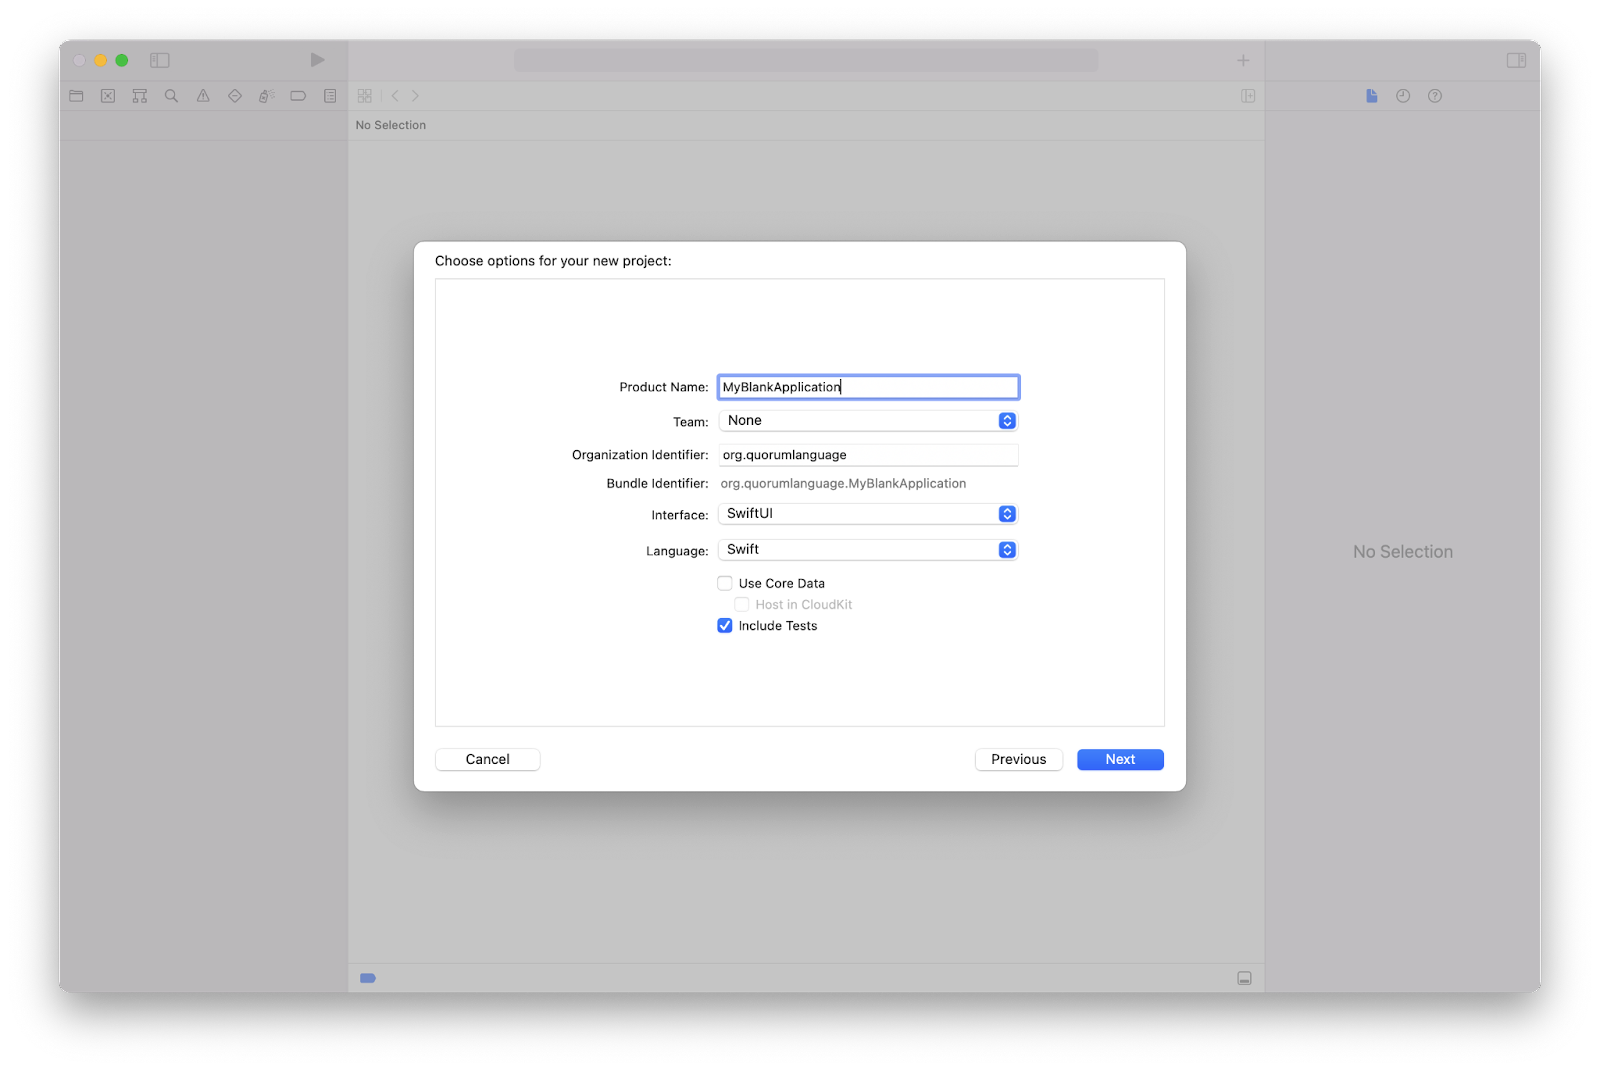
You can put the Xcode project anywhere convenient on your system. Once you have selected a location, the project should be created and the main Xcode window will open.
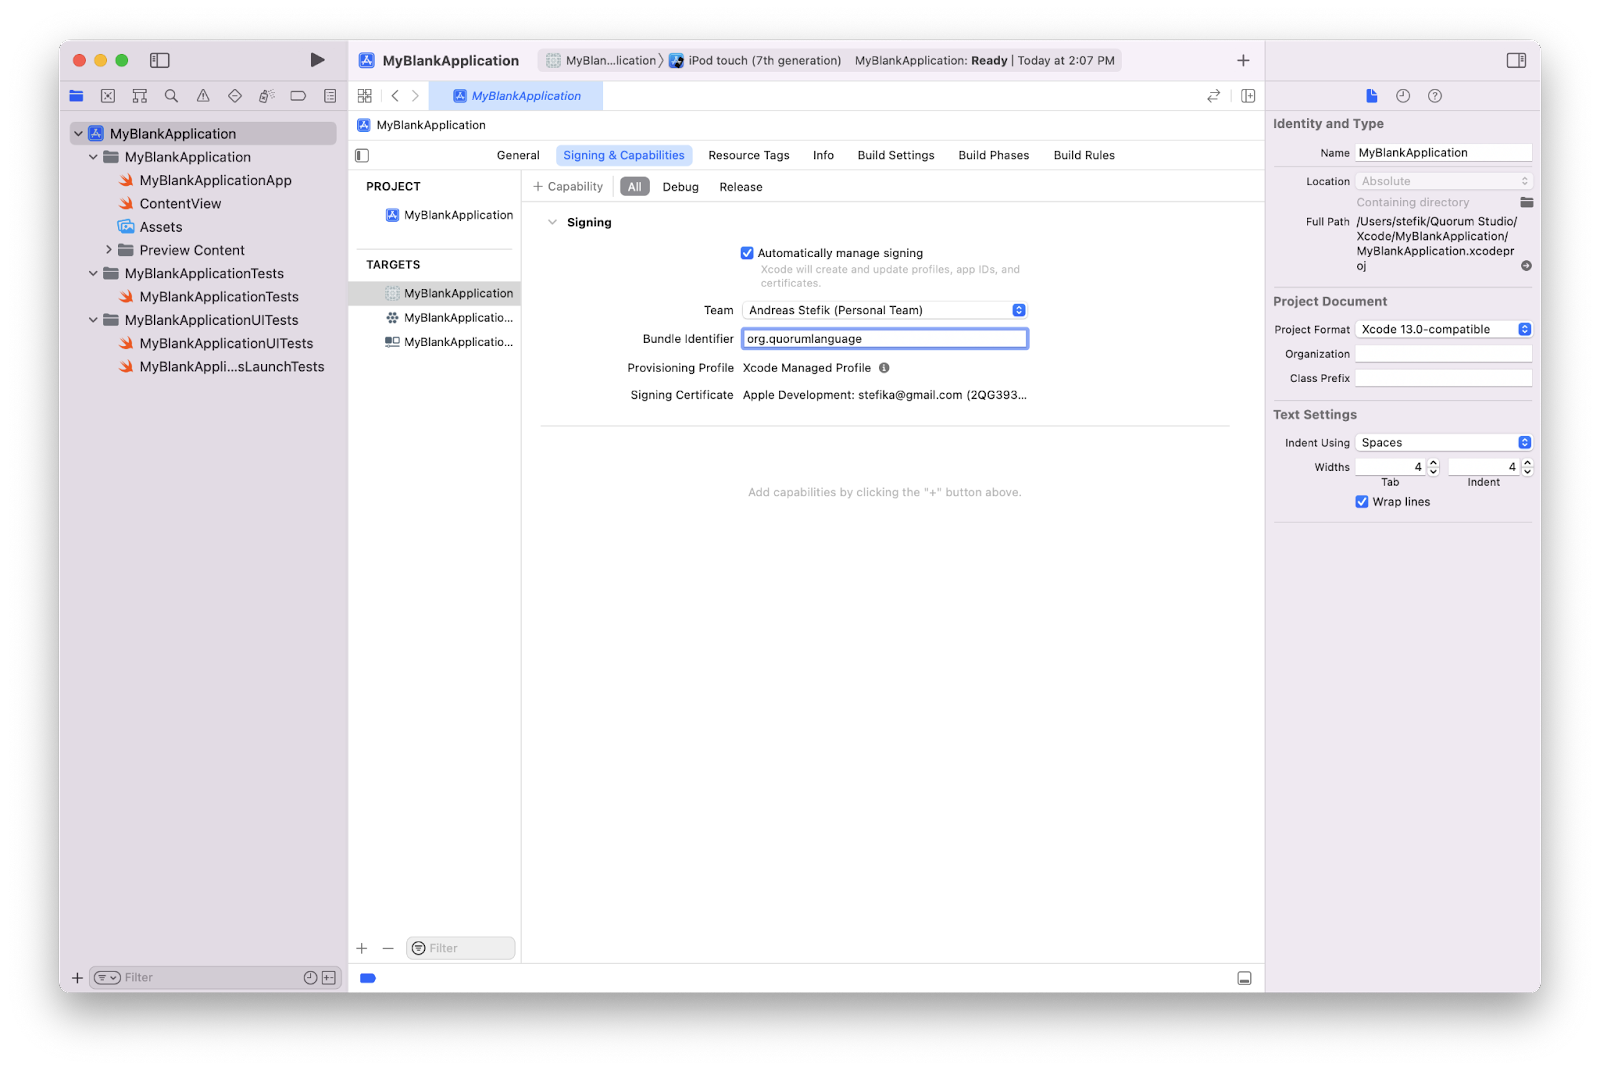
Go to the Signing and Capabilities section of the application and tell it to automatically manage signing. You can access this by selecting the root folder in the project view. You may need to make a Team for this to work and one person will count as team.
An external reference on these certificates can be found on the ioscodedesigning website.
Running the Dummy Xcode Project
Now, we can test the dummy Xcode application on the device. This step will ensure that your profile is fully set up and that you can successfully place an app on your device. To do this, choose the Run button, select Run from the Product menu in the top navigation bar, or use the Run hotkey (COMMAND-R). The dummy Xcode project should install itself on the device and launch. Xcode may prompt you to unlock your device to complete installation.
If the program runs without issue, you can skip to the next section. However, you may receive a message stating that your program could not be launched because your developer app certificate is not trusted on the device. If this happens, open the Settings on your device, then navigate to General > VPN and Device Management, and select your Apple ID. From this menu you can verify the app developer. The app should then run.
When you run the app, it should do nothing but open a blank screen. This is because that’s all the templated project we made in Xcode is meant to do. You have now confirmed that the development environment is set up to put apps on the device.
Running the Quorum Project on your Device
Open the Quorum project in Quorum Studio.
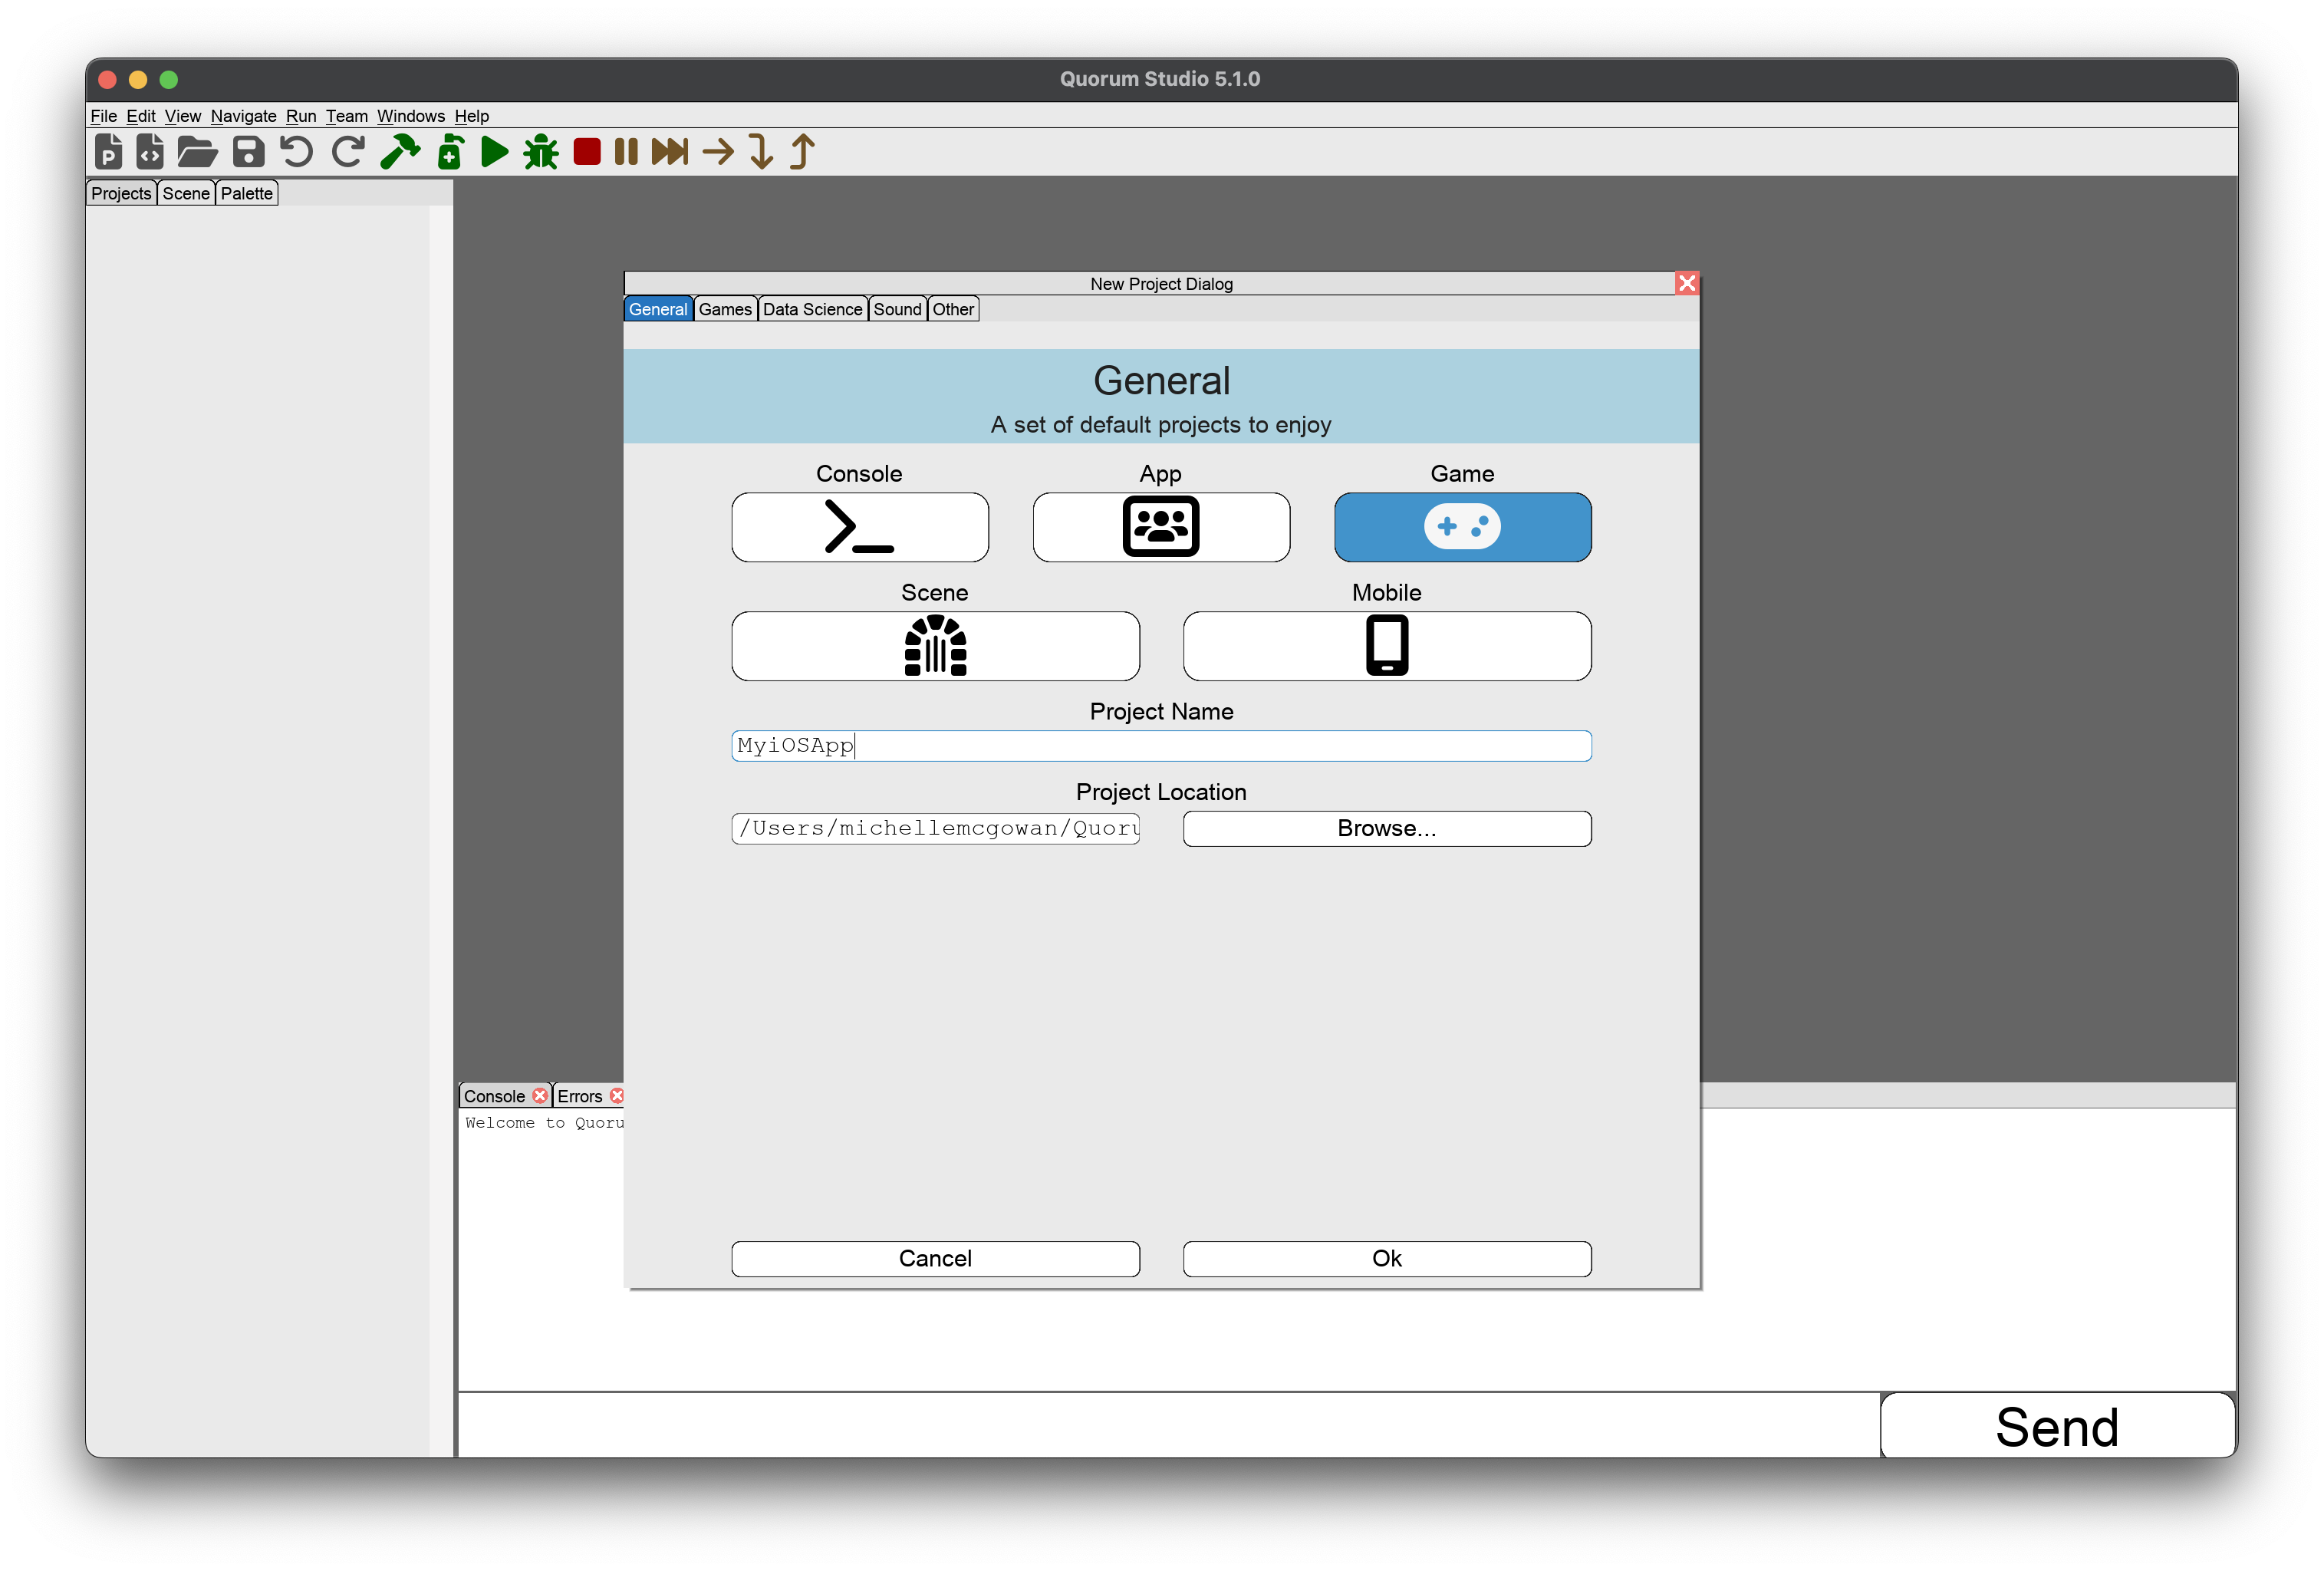
Either use your existing Game project or create a new one using a template. Here we will make one using the Game Template.
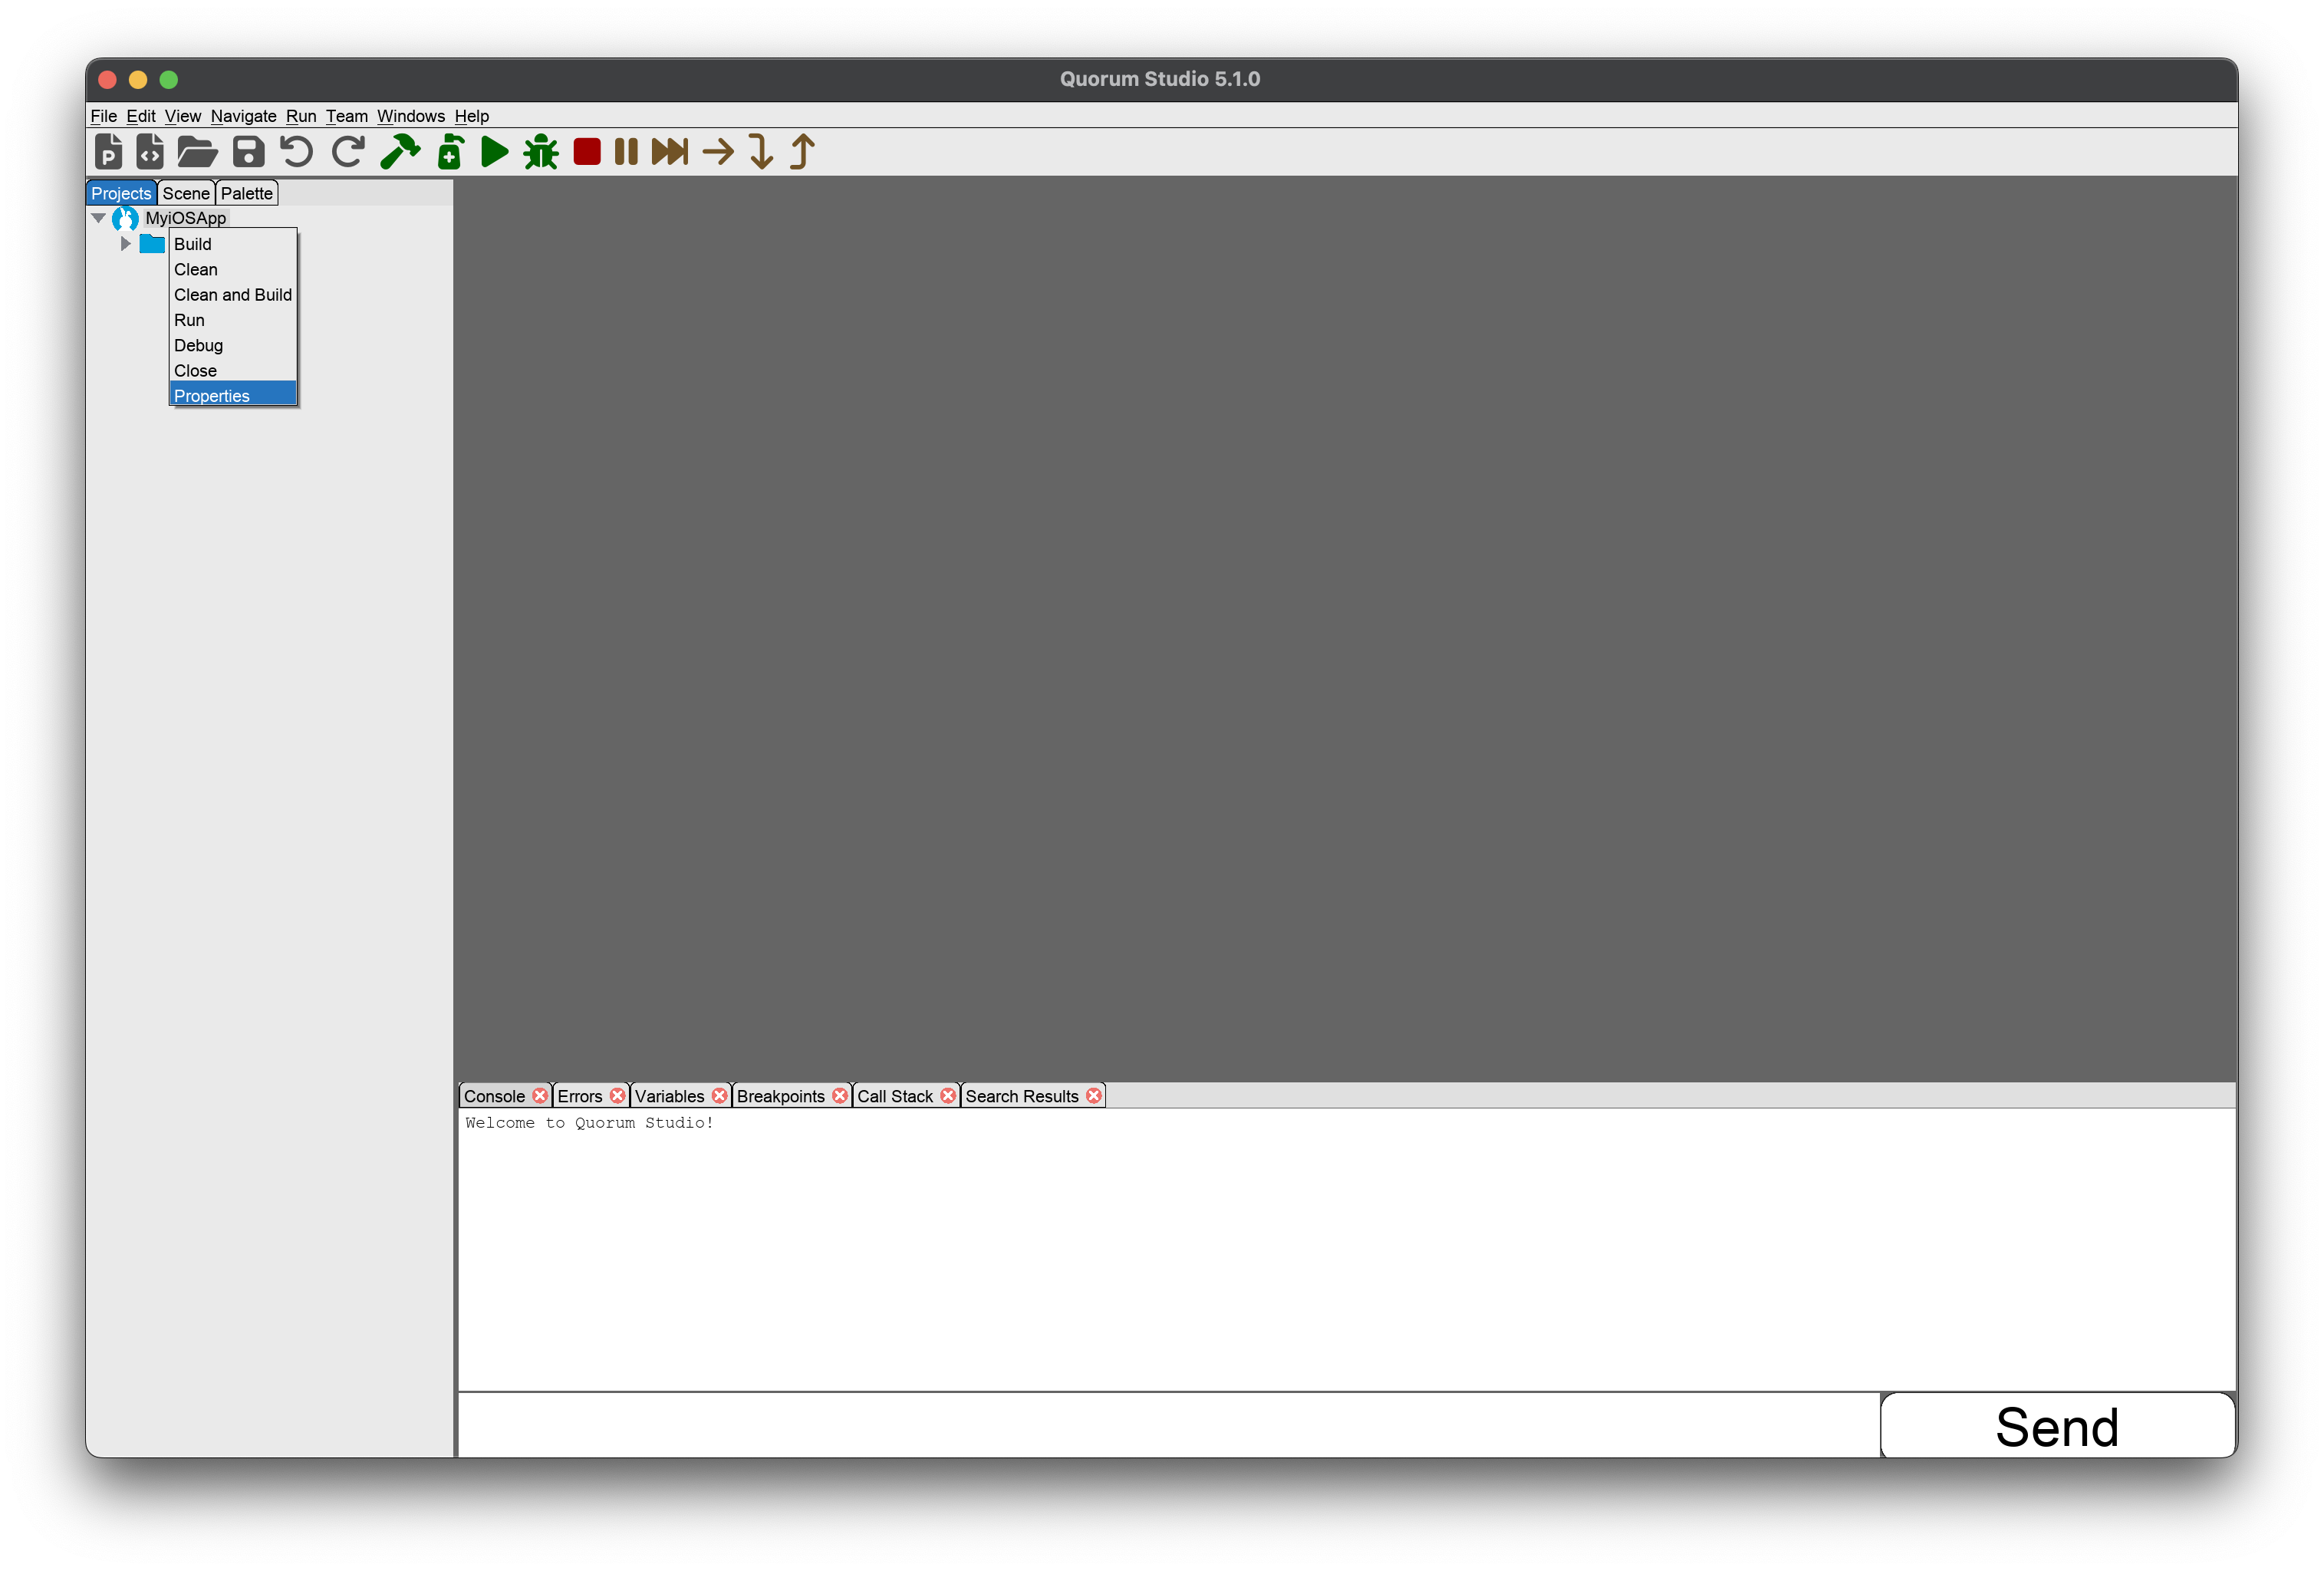
Open project properties by either right clicking on the project name or making sure your project name is selected and going to "Edit" in the top toolbar.
To connect Quorum with Xcode, you need three properties: the Bundle Identifier, Signing Identity, and Provisioning Profile.
The Bundle Identifier is shown on the main project settings page in Xcode under the 'General' tab. The Signing Identity and Provisioning Profile appear in the build log when you run your dummy Xcode project on a device. Copy these values exactly into the Quorum settings.
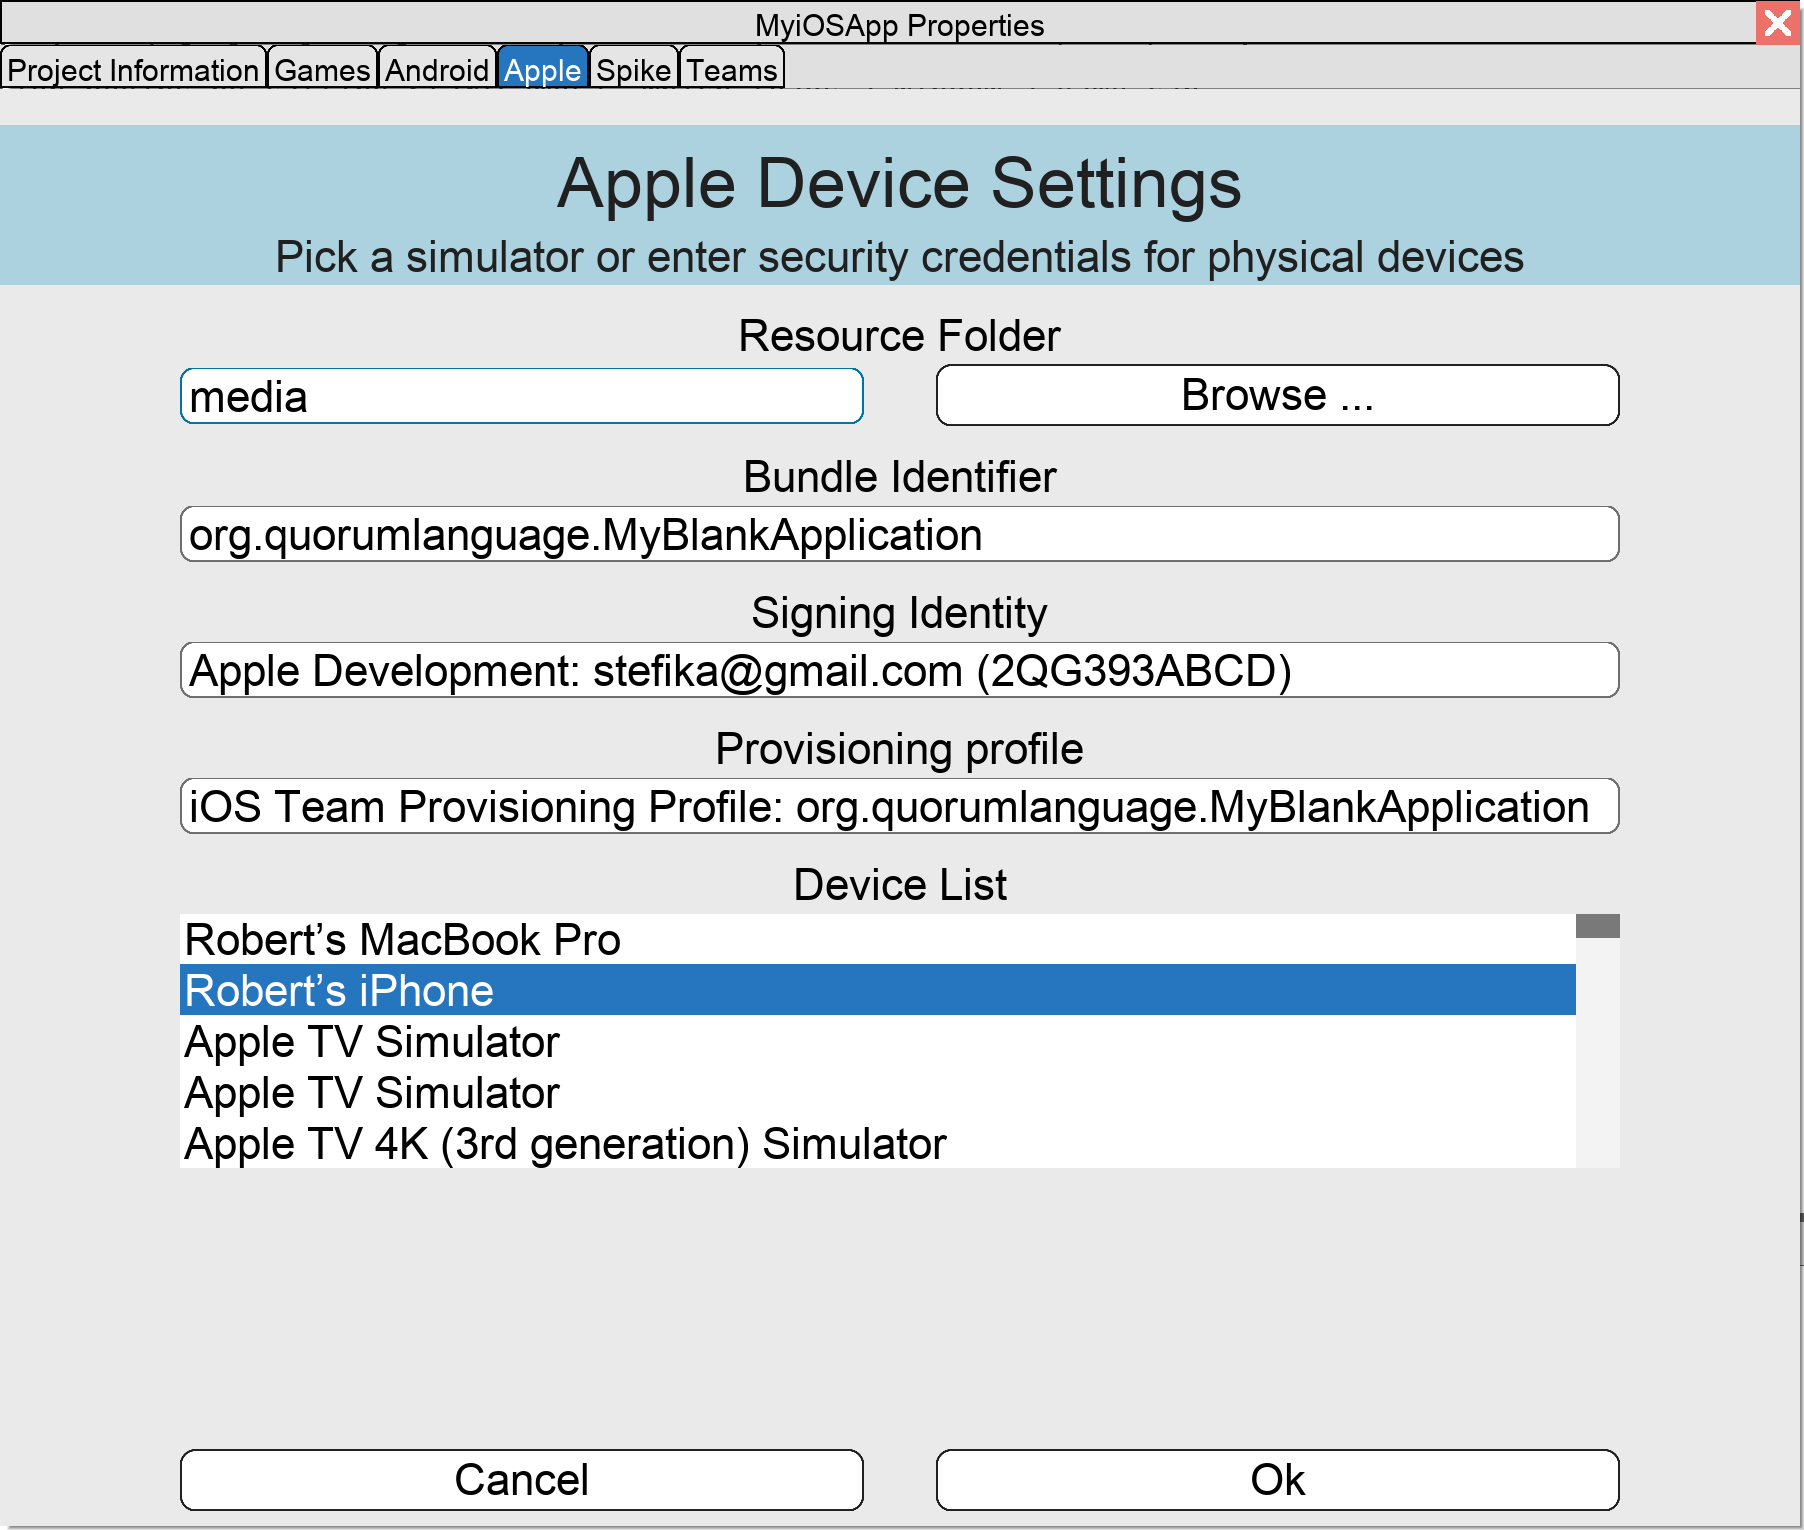
Quorum also requires access to the provisioning profiles directory. If it does not exist, create it with 'mkdir -p ~/Library/MobileDevice/Provisioning\ Profiles', then add a symbolic link: 'ln -s ~/Library/Developer/Xcode/UserData/Provisioning\ Profiles ~/Library/MobileDevice/Provisioning\ Profiles'. This links Xcode’s profiles to Quorum.
After entering the properties, select "OK" to build the Quorum project.
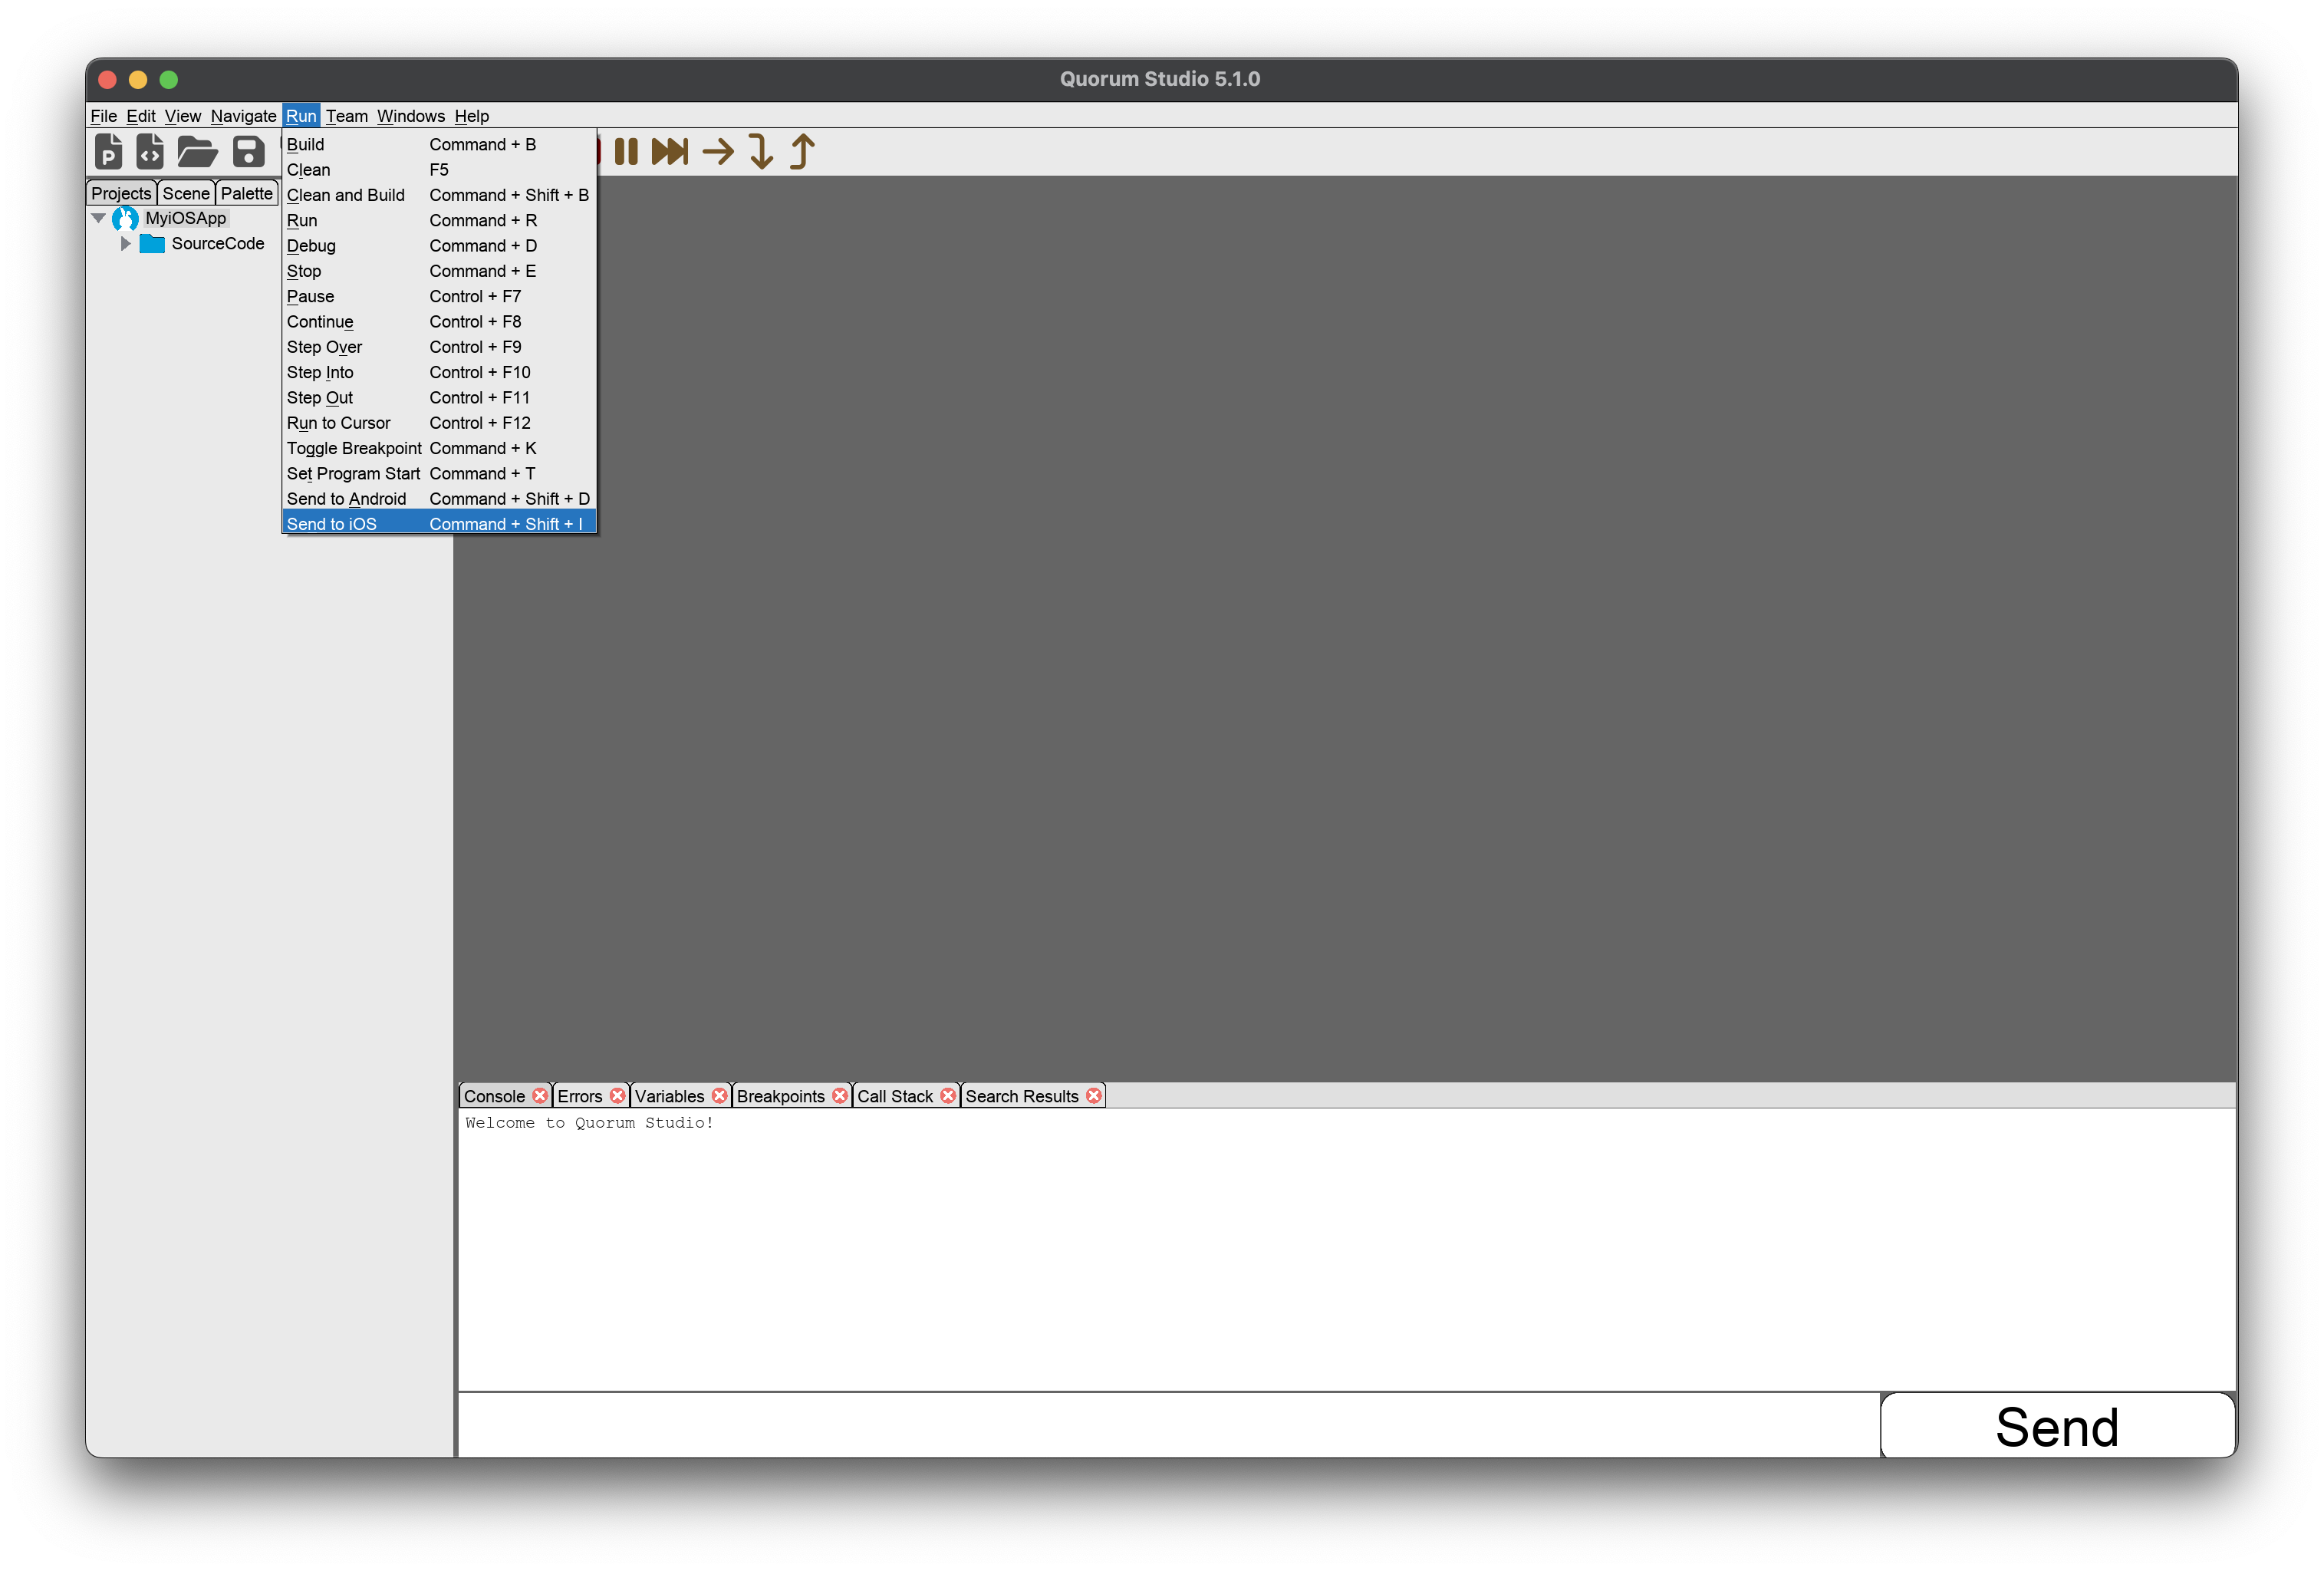
To build the project for iOS navigate to the Run menu and select Send to iOS or use the shortcut COMMAND + SHIFT + I.The first time we run an application it will likely fail, as our iPhone does not know to trust the developer account we just created. This often ends up with a message similar to saying we have an Untrusted Developer. To fix the problem, we go to Settings -> VPN and Device Management and should notice the application we made under Developer App. We then select this app and click Trust. We then might need to select the Send to IOS button a second time.
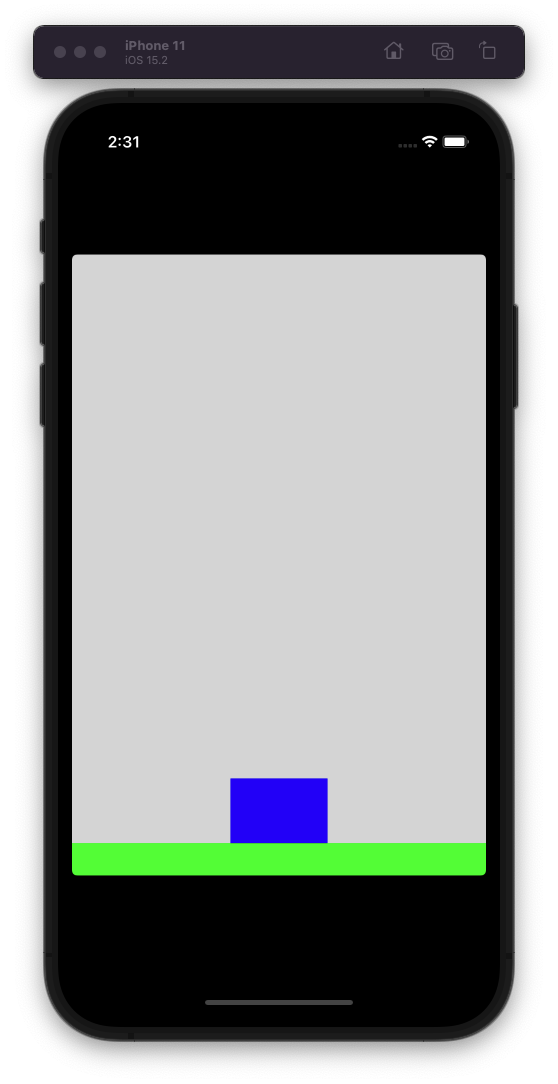
Compilation will take a while so be patient. Here is an example of a project running on the iOS simulator:
Select the device we want in the Device List under the Apple tab. If we plug in the device after Quorum Studio loads, we may need to reboot Quorum Studio, as it only checks for new devices on bootup. Also check the Bundle field and makes sure that matches the bundle name setup in Xcode. For this example we made the bundle name to be org.quorumlanguage which is set by default in new Quorum Studio projects.
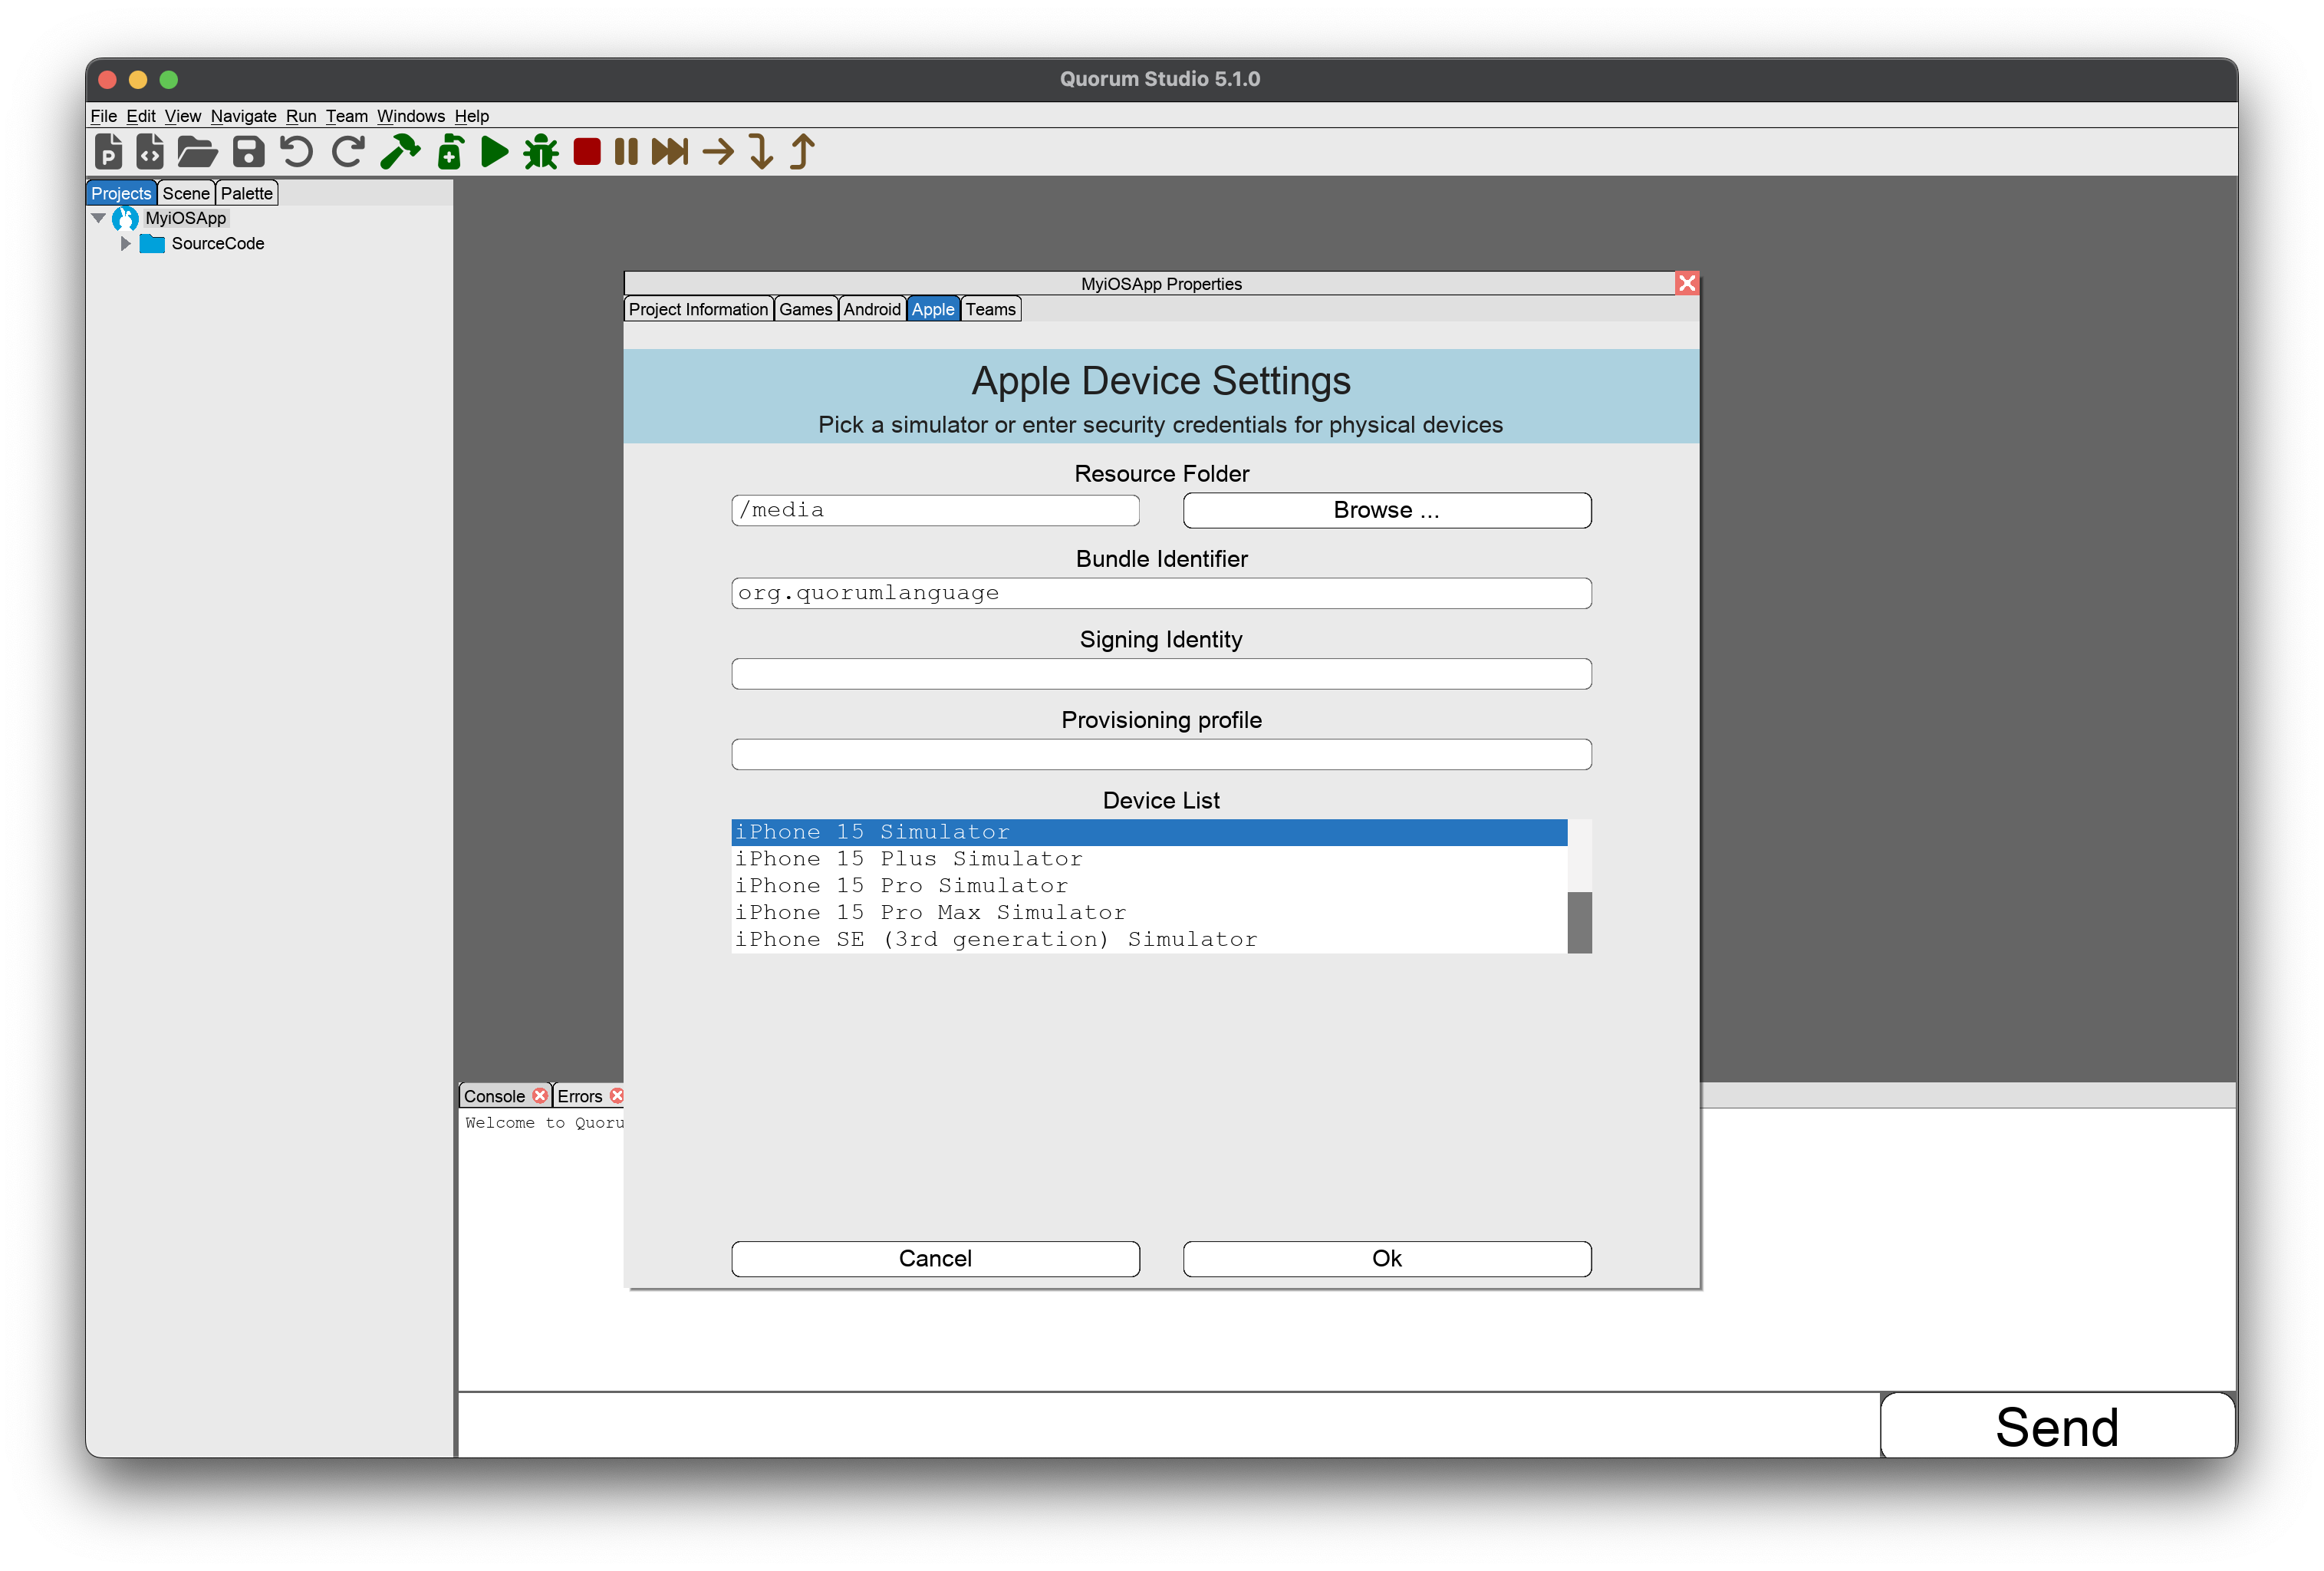
Once the properties are filled in, select "OK". You are ready to build the Quorum project.
To build the project for iOS navigate to the Run menu and select Send to iOS or use the shortcut COMMAND + SHIFT + I.The first time we run an application it will likely fail, as our iPhone does not know to trust the developer account we just created. This often ends up with a message similar to saying we have an Untrusted Developer. To fix the problem, we go to Settings -> VPN and Device Management and should notice the application we made under Developer App. We then select this app and click Trust. We then might need to select the Send to IOS button a second time.
Compilation will take a while so be patient. Here is an example of a project running on the iOS simulator:
Known Issues
Sometimes the device list in the Project Properties dialog in Quorum Studio will be empty even though Xcode is installed along with the simulators or a physical device is connected.
The cause for this is usually that the command line tools set on your Mac does not contain the command xctrace which is needed to find the devices available on your Mac. To fix this, make
sure the command line tools were installed with your Xcode installation and to set the command line tools to default which contains xctrace with the command sudo xcode-select --reset
To verify the command line tools are correct you can run xcode-select -p and the result should be /Applications/Xcode.app/Contents/Developer
Next Tutorial
In the next tutorial, we will discuss Android Vibrations, which describes how to use Vibrations on an Android device in Quorum..